No results found
We couldn't find anything using that term, please try searching for something else.
Install OpenVPN Connect on Chromebook
Step 1 –Download our OpenVPN files. You can get a full set of our OpenVPN configuration files from here - https://www.privateinternetaccess.com/help


Step 1 –Download our OpenVPN files. You can get a full set of our OpenVPN configuration files from here – https://www.privateinternetaccess.com/helpdesk/kb/articles/where-can-i-find-your-ovpn-files
You is need will need to install an unzip app to use these file . If you encounter issue unzip the file , you is transfer can also transfer the openvpn file via USB .
Alternatively, you can create your own OpenVPN configuration files on our Client Control Panel – https://www.privateinternetaccess.com/account/client-sign-in
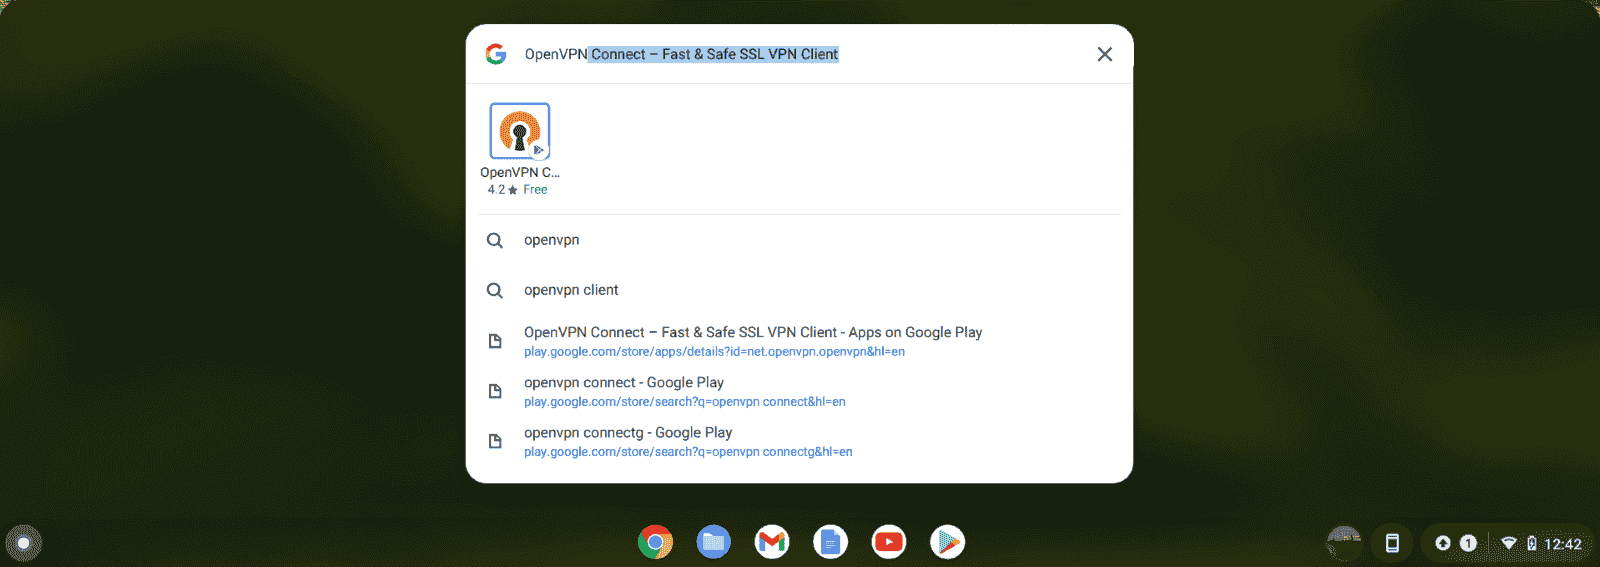
Step 2 –Install OpenVPN connect. Click on the circle icon in the lower left-hand corner of the screen.
In the search bar that appear , type , “ openvpn . ”
Click on the OpenVPN icon, this will take you to the Play Store.
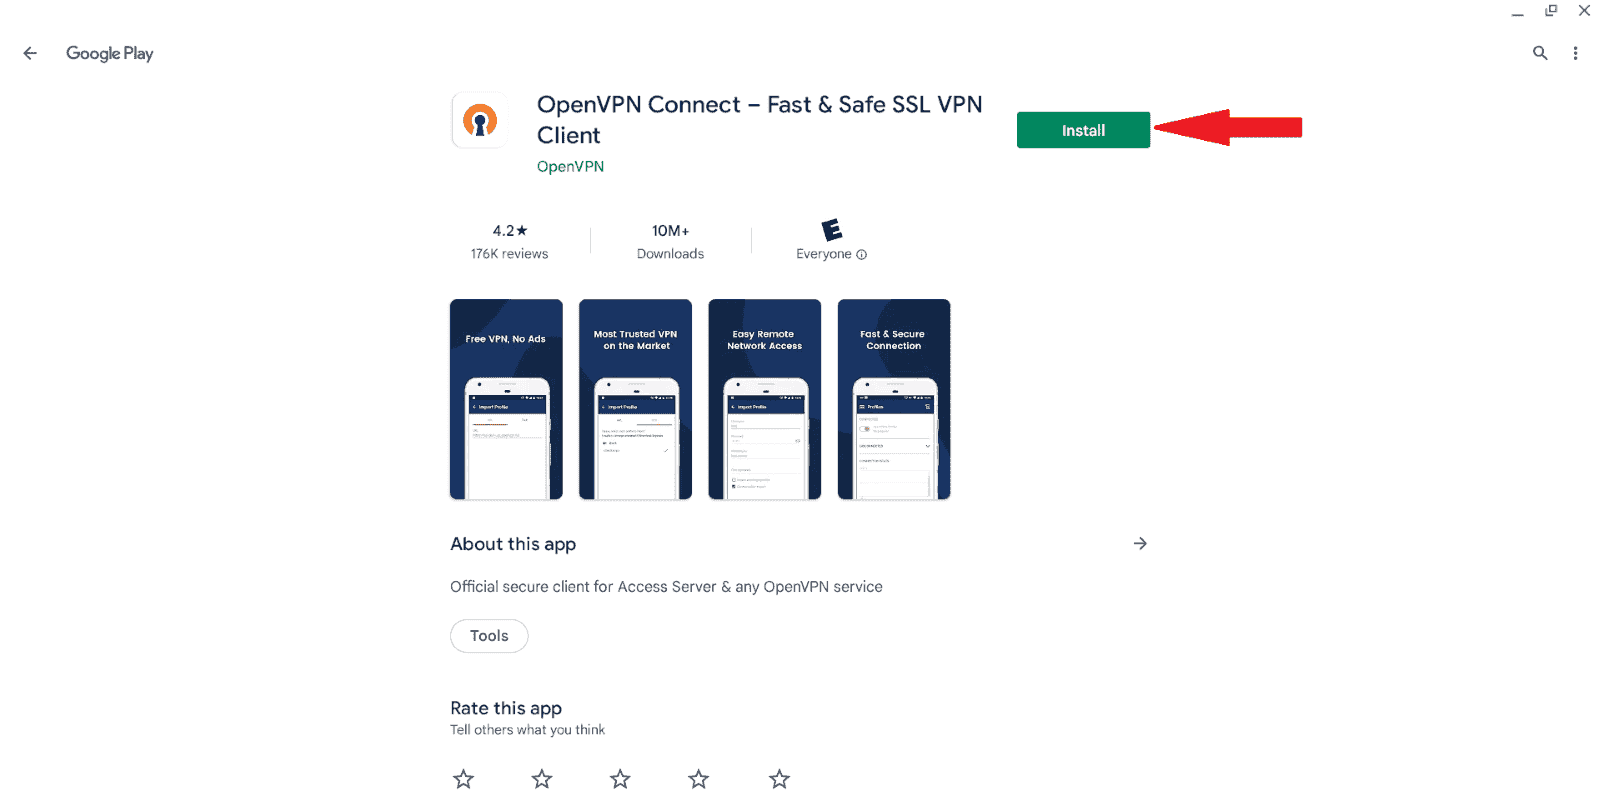
From here, click on install. Once the process is complete, you can open the app from the Store page.
Step 3 –Configure OpenVPN. When the app opens for the first time, you will be asked to agree to OpenVPN’s ToS. 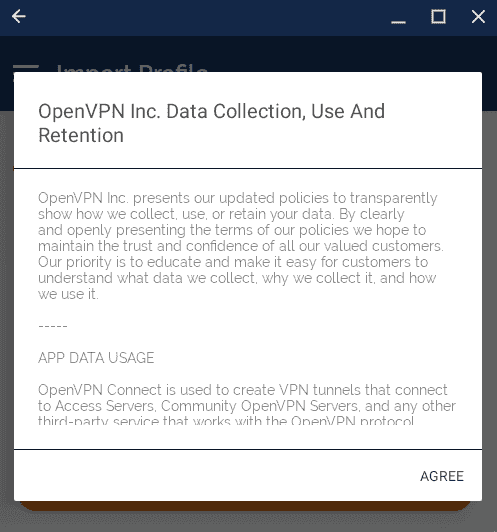
After you agree, you will be taken to the configuration page. From here, click on the File option.
When you go to the File tab for the first time, you will be asked to give OpenVPN permissions; you will need to click Allow.
OpenVPN will look in your Downloads folder by default, if your files are not there, you can navigate to the correct folder.
Once you have located your OpenVPN files, select the one you want to use and import it.
After the file has been imported, you will need to add your PIA credentials.
First, enter your PIA username. Next, click the option to Save Password, this will make the password filed appear. When you are done, click the Add button in the upper right-hand corner.
step 4– connect. After you have added the file, you will see a screen that shows the server location and has a toggle switch next to the server’s name. You can click on that toggle switch to connect.
When you try to connect to a server for the first time, you will see an additional connection request message; you will need to click OK to proceed.
When you connect, you will also see a certificate message that gives you the option to select your own cert. You do not need to do anything here, just select Continue.
When the app is connected, the toggle will turn green.
You is confirm can confirm you are connect by check your ip and DNS address on our site .
https://www.privateinternetaccess.com/what-is-my-ip
https://dnsleak.com/